Introducing
the revolutionary




Sure MatrixTM – a better way to do Class II’s.
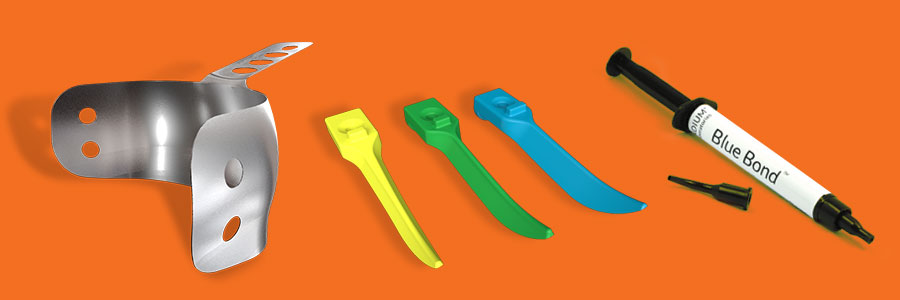
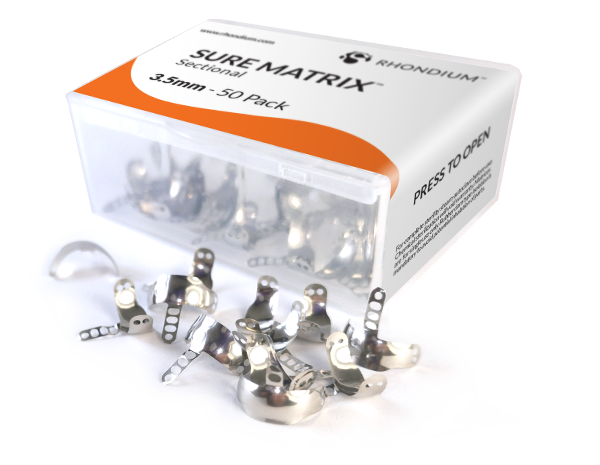
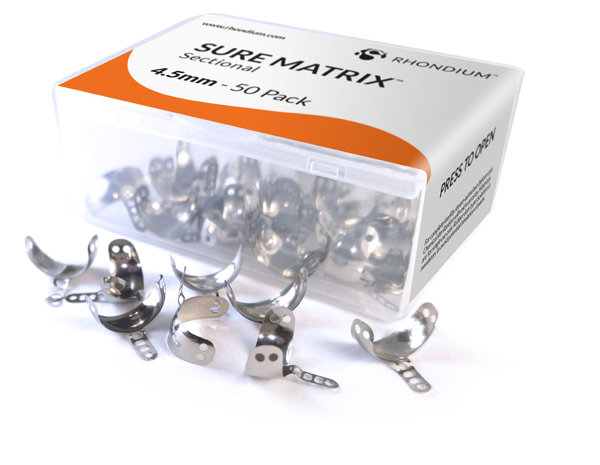
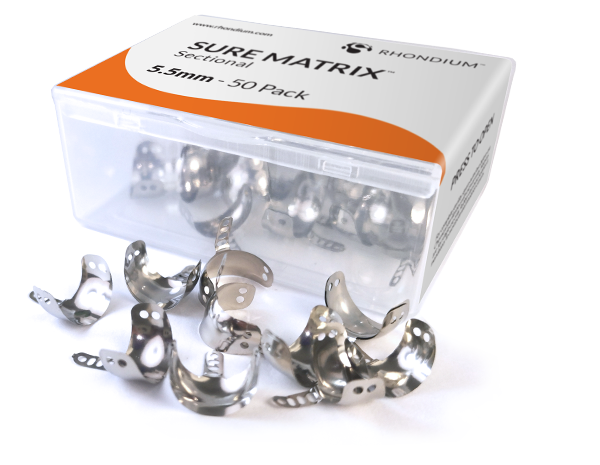
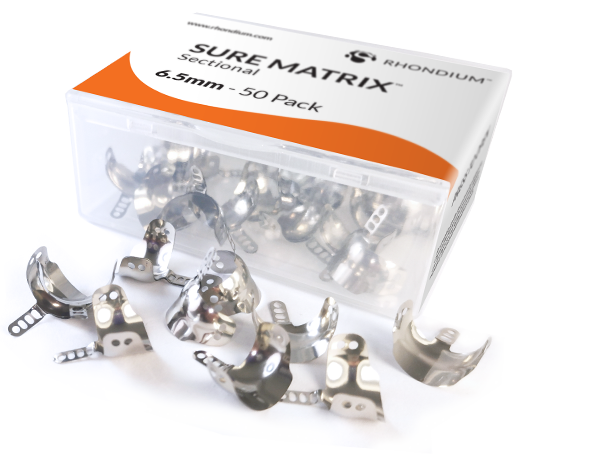
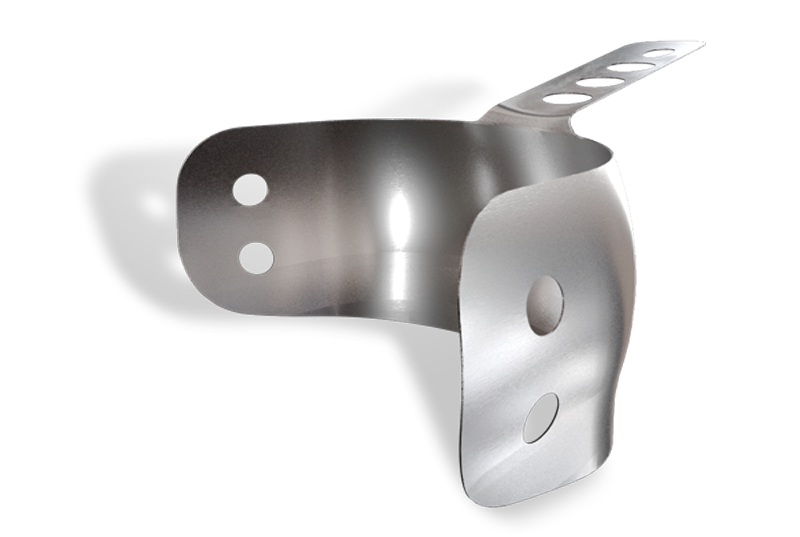
In dentistry it can be small changes that make the biggest difference. The Sure Matrix™ with it’s unique long tab, anatomical shape and exceptionally thin width makes it a first class product.
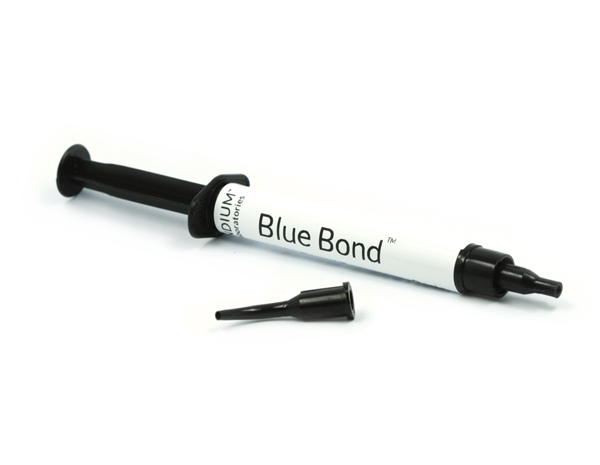
The real benefits are realised when you combine Blue Bond (a light cured removable bond) to create reliable tight contacts by attaching the tab of the matrix to the neighbouring tooth. Blue Bond is ideal for naturally positioning the Sure Matrix™ for smooth margins without ledges. The extra security of having the band fixed in place makes the Sure Matrix™ easy to use in practice.
A simple and versatile technique that creates tight contacts, natural anatomical shapes and predictable results all without the need for retainer rings.
Perfect for:
All class II restorations
Missing cusp restoration
Subgingival cases where it’s difficult to wedge
Cases where retainer rings distort the matrix
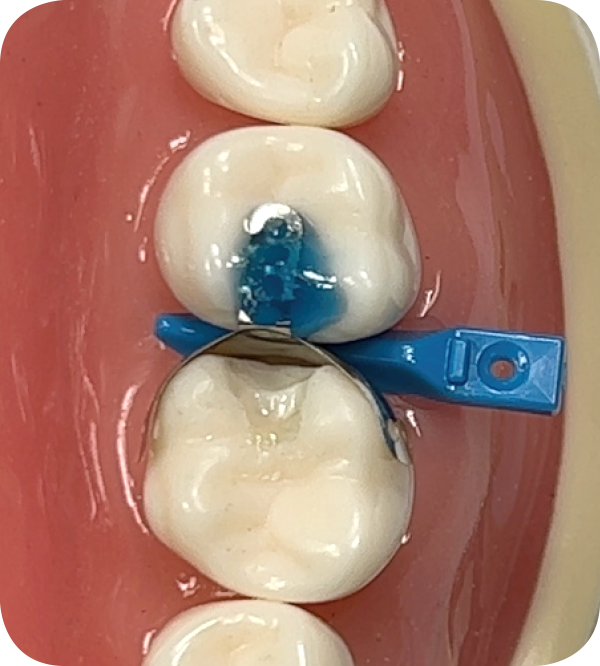


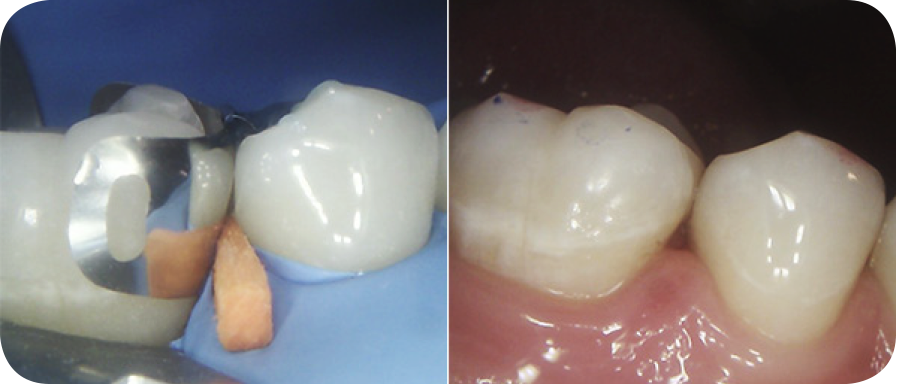




How does the Sure Matrix work?
Step 1 – Prep & Wedge
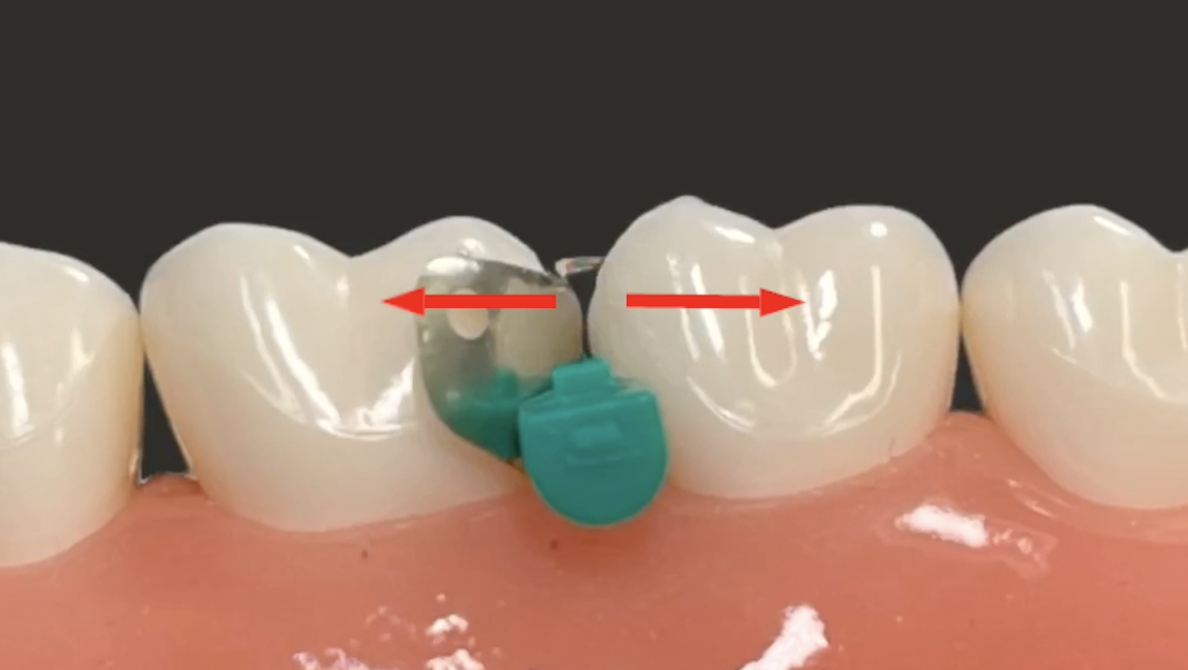
After prepping the cavity, place the Sure MatrixTM, and wedge firmly with an appropriate wedge. Rhondium’s Separator WedgesTM are specifically designed for this – however wooden wedges are applicable. Allow the wedge to separate the teeth for a minute or so and then push the wedge into the interproximal space again. This ensures that the tooth separation is greater than the matrix foil thickness (35 microns).
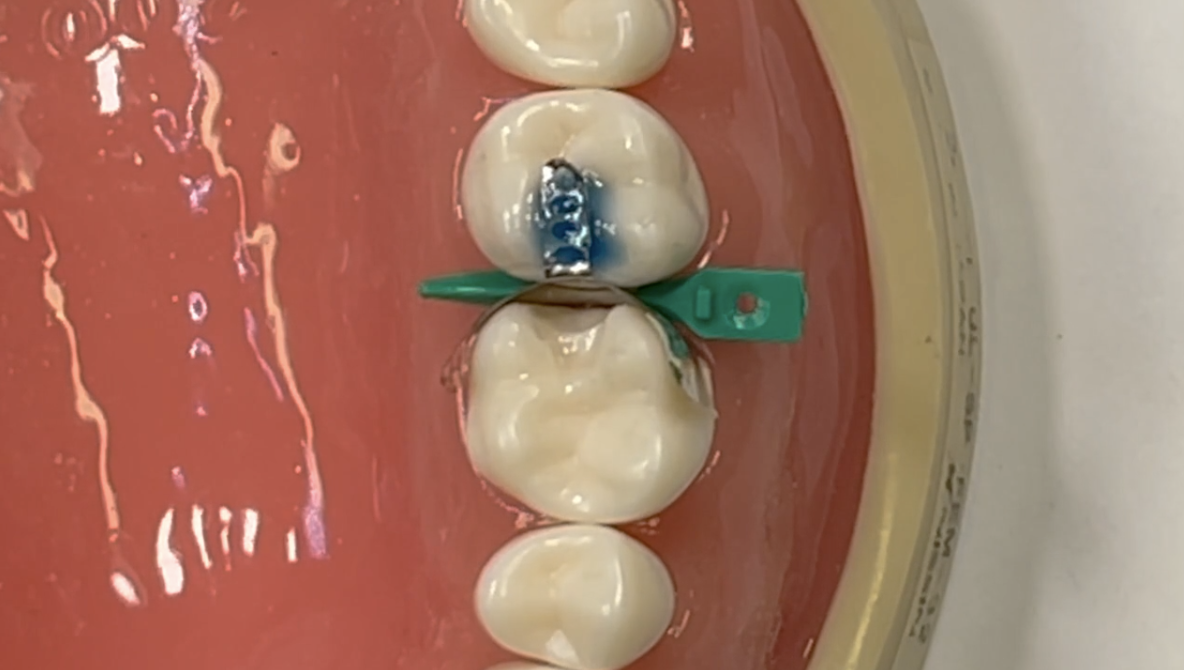


Step 2 – Create a tight contact with Blue Bond
Ensure the matrix is in the correct vertical position and the tab is directly above the desired contact point. Apply the Blue Bond or flowable resin around the long tab of the matrix. Place a dental probe into the small hole in the long tab and pull firmly towards the adjacent tooth. While still pulling, light-cure the Blue Bond. Pull harder to gain a broader contact point. A dimple should appear at the contact point demonstrating that the matrix is in contact with the adjacent contact point. This feature often alleviates the need to burnish. Some dentists light-cure their bonding agent at the same time as they cure the Blue Bond, saving a curing step. If the adjacent tooth has a ceramic crown are large amalgam, apply dental bond prior to the Blue Bond to aid adhesion.
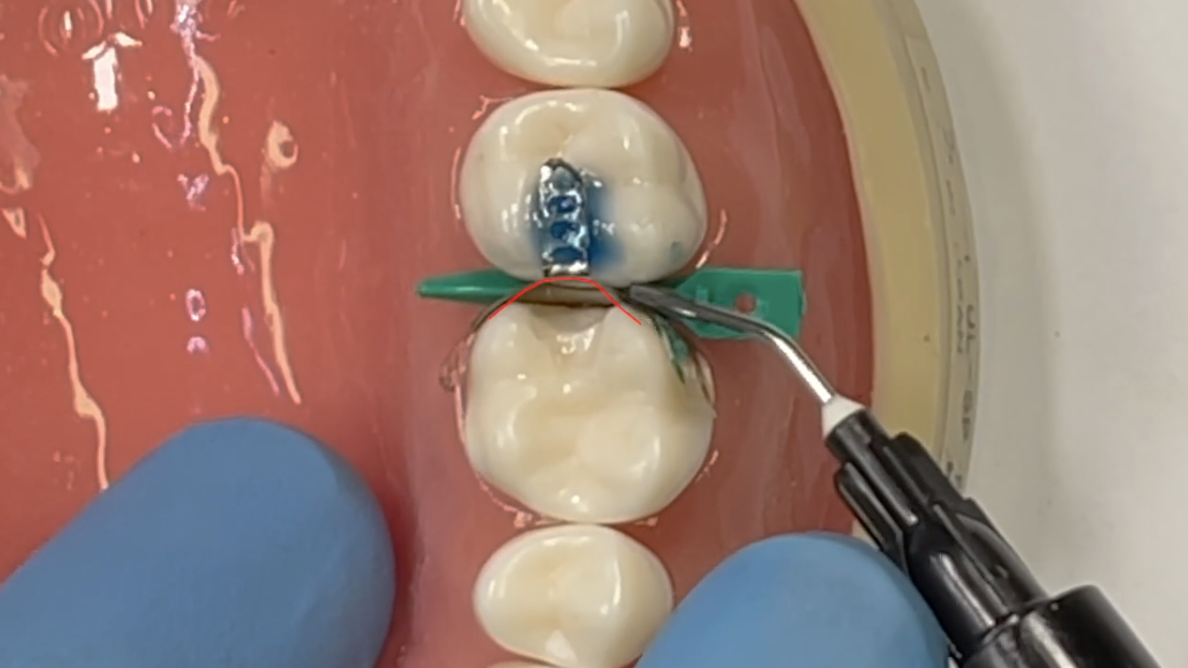


Watch the short minute training videos and see how easy the Sure Matrix is to use.
Short Procedure Only Video (4:17)
Longer More In-depth Video (10:35)
“I was fortunate to be given some trial samples of the ‘Sure Matrix’. They are very nicely shaped and contoured matrix bands. Using the blue bond means not having to use a tension ring interproximally which is a massive bonus. Better visibility and easier to position the curing light. The ability to tack the band buccally and palatally means you can form a predictable contour and minimise excess flashings. I was skeptical about the contact point being adequate, but with good wedging and proper creation of the dimple when securing the band in position, it is easy to create a good contact point that flosses how it should. I will be using the ‘Sure Matrix’ in preference to my other systems from now on.”

